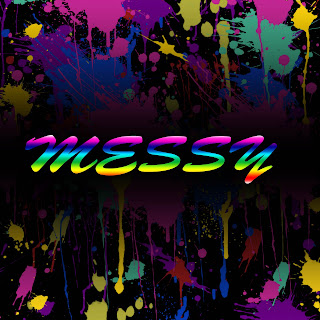
While I was looking through some photoshop tutorials i came across one that incorporated a"paintbrush slpatter" brush that I liked and thought I could make a cool image. I downloaded the set of brushes and went to work. I played with it using different themes and images I found online but none of the compositions came out as well as I had excpected.

I kept searching through the endless piles tutorials and I just used all of my new found knowlegde to create one decent background/ image.
- First I Filled the background with a solid black color.
- I created a new layer and used Layer> Layer Style> Gradient Overlay and made a gradient that followed a desired color x black x desired color scheme.
- Next I clicked on one of the many different Splatter brushes and evenly filled space with that color. (overdoing it would just make the image looking sloppy... not messy)
- Repeat that step as many times as you'd like with different colors
- Next Find a font you like and write your text.
- Use the Quick Selection Tool and select the text then alter the color by using Layer> Layer Style> Gradient Overlay and fill the text with your desired gradient.
 I kept searching through the endless piles tutorials and I just used all of my new found knowlegde to create one decent background/ image.
No comments:
Post a Comment